I’ll never forget the look of joy and relief on my client’s face as she saw her family photos up on the wall. She had 20 or so of them, in frames of all different shapes and sizes. Antique black & white photos, school pictures, professional family shots, precious candids. Earlier, I watched and listened as she pulled each framed piece from a large cardboard box, describing the members of her family, and when/where each photo was taken. Each shot had meaning and memory and love. My mission was to group these snapshots into a family gallery wall. As I worked, I’d check with my client, making sure I wasn’t stirring up any feuds by putting certain relatives too close together (you never know!). At the risk of tooting my own horn, the end result was amazingly beautiful. To view them felt like diving into a family tree. My client’s relief came from no longer keeping these amazing memories in a box for 15 years, from no longer feeling paralyzed by not knowing how to begin the process. Seeing them up on her wall brought her to tears of joy. What a gift it was to create her family gallery wall.
Let’s face it. Family photos are tricky. Growing up, my grandparents would fill their stairway with an endless row of school photos of us grandkids, at various stages of gap-toothed awkwardness. Looking back, their pride in family was beautiful. But of course, my 20-year-old self would cringe, consoled only by the fact that my cousins joined me on those walls, in all of their double-knit, polyester-wearing glory.
I am often asked “where should I hang family photos”? I always answer with “how do you want your guests to feel in your home?” My family tree client chose an upstairs hallway that was visible from a family room below. The family grouping would be present, but not overwhelming. It would be seen from a space shared with friends and family alike. To see detail, you’d need to take the time to go upstairs, study the faces, hear the stories. Its location helped to give the grouping both importance and privacy.
Most of my clients who ask me to create their family gallery wall are like my family tree client – they’re paralyzed. They promise to get to it one of these days, but lack of time and a fear of “doing it wrong” keeps those photos in the box. The memories that the photos conjure can even play a factor. Sometimes, hiring someone like me is the best solution. But if you do have the time, here are some tips to help you transform your box of family photos into something you and your guests can admire.
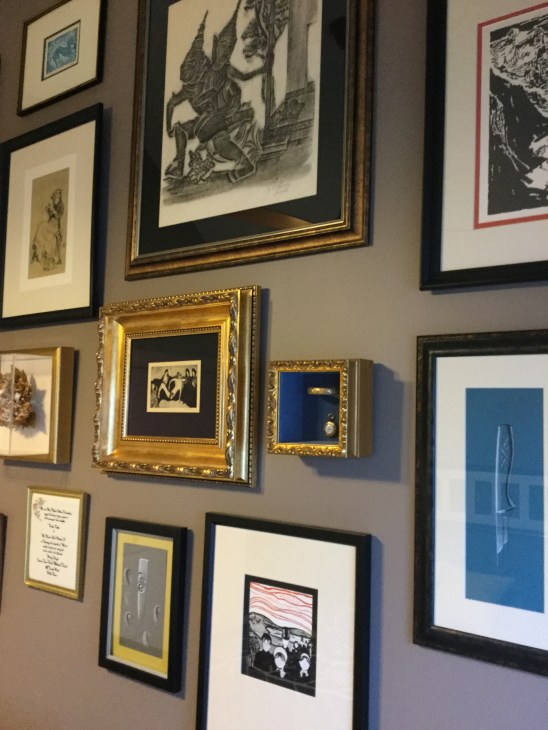
Choose your wall. Assuming you have a large number of photos to display (over 12, let’s say)… you’ll need a large, blank wall that is not just a passageway. Your gallery will be a focal point, so it needs room to be viewed. A hallway T-intersection or the top of a landing are favorite spots. Family rooms can also work nicely for a family grouping, especially to provide balance to a fireplace or other large focal point. In my opinion, free-standing family photos that can be propped on a side table or bookshelf are good for bedrooms, but the walls of bedrooms, dining rooms and living rooms should be reserved for artwork.
Frame your photos. You can: a) choose exactly the same frame and mat style for all of your photos (a black frame with a white mat is a classic, no-fail option), or b) mix up your styles. When you mix styles, let the photo lead you to the right frame. Is it an outdoor, woodsy shot? Consider a reclaimed wood frame. Grandpa’s military photo could look terrific in a simple metal frame. Wedding photos will pop when surrounded with engraved detail. Take your photos with you to the store to help you choose.
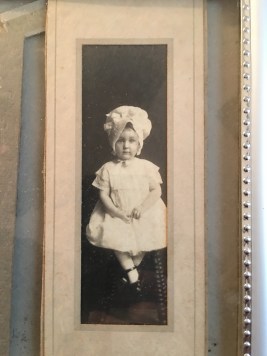
Resist the temptation to frame your photo without a mat. A mat helps to draw your eye to the image and will always make your framed photo look more polished. Of course there are exceptions – don’t risk ruining an antique photo just to replace an old frame that has no mat. If you really want to reframe it, bring it to a professional who will help restore and treat your family heirloom with kid gloves.
Mix it up. Unless your photos are all identical in size, choose different sized frames and mats. Let the size of the photo lead you to the right frame. But if you have a very small photo that you adore, don’t let it get lost. Shine the spotlight on it by placing it in the middle of an oversized frame and mat.

Add other images. Consider bringing in images that have meaning to the family. That picture of the family farm from long ago. The shop that great-grandpa opened. A sunset you enjoyed on your honeymoon. An old porch swing. Even a quote that mom used to say. Adding unexpected elements to your gallery wall can spark conversation and create some visual interest.
Measure. Determine (and measure) the space on your wall that you’ll be using for the grouping. Decide the width you’d like your grouping to have. You don’t have to take up the whole space, but if you do, leave at least 6 inches on either side of the end of the wall (or light switch).
Check your time. Before starting the process, make sure you have time. It takes me about 60 – 90 minutes to arrange and hang a grouping of about 12-15 pieces. So give yourself a nice window of time where you’ll be uninterrupted and won’t worry that people will tromp by and step on your photos.
Start arranging. When you’re ready, arrange your pieces on the floor in front of where you’ll hang them. Measure to make sure the width of your grouping matches the space you’ve determined for your wall. Adjust accordingly.
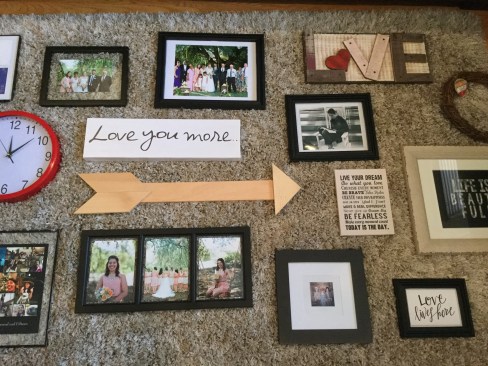
When you arrange your photos, keep them close together – typically, around 2-2.5″ apart on all sides. And unless you’re creating a perfect grid, the arrangement should have movement – one of my clients calls it “controlled chaos.” This is where it gets a little difficult to provide instruction. You’ll need to rely on your own intuition and creativity. Pay attention to where your eye travels as you look at the arrangement on the floor. If a photo is getting left out, switch things around until you feel a good flow to the story. Some pieces will always feel less important than others but grouping them thoughtfully can make all the difference.
Take a photo. When it’s time to hang, snap a photo of your arrangement. Take several photos from different angles. Trust me, you’ll use them for reference!
Mark with pencil. Find and mark the middle point of your wall. Find the middle point of your grouping and start by hanging the piece (or pieces) in the middle that will anchor your grouping. Work your way outwards from there. Measure twice, nail once!

Use the right tools. You’ll need nails (I like wire nails with a nice flat head), a hammer, measuring tape, picture hanging hooks of various sizes, and a level. If your pictures are small, I sometimes just use a single nail without a hook, especially if a hook might be seen above the frame once its hung. If you’re putting your gallery up in a high traffic area or where the walls sometimes shake, invest in a little putty to stabilize each piece once it’s level. There is also a handy tool out there that I highly recommend when hanging a gallery wall – it’s called the Hang and Level. If you use it, work your way up the wall, rather than down, so you have room for the tool to do its work – it’s a huge time saver.
Have fun! Remember, if you don’t like where you hung your pieces, don’t stress. A little spackle and paint will cover any mistakes. And as your family grows, you can swap out photos or add to the mix. Be creative and enjoy the result.

Leave a comment